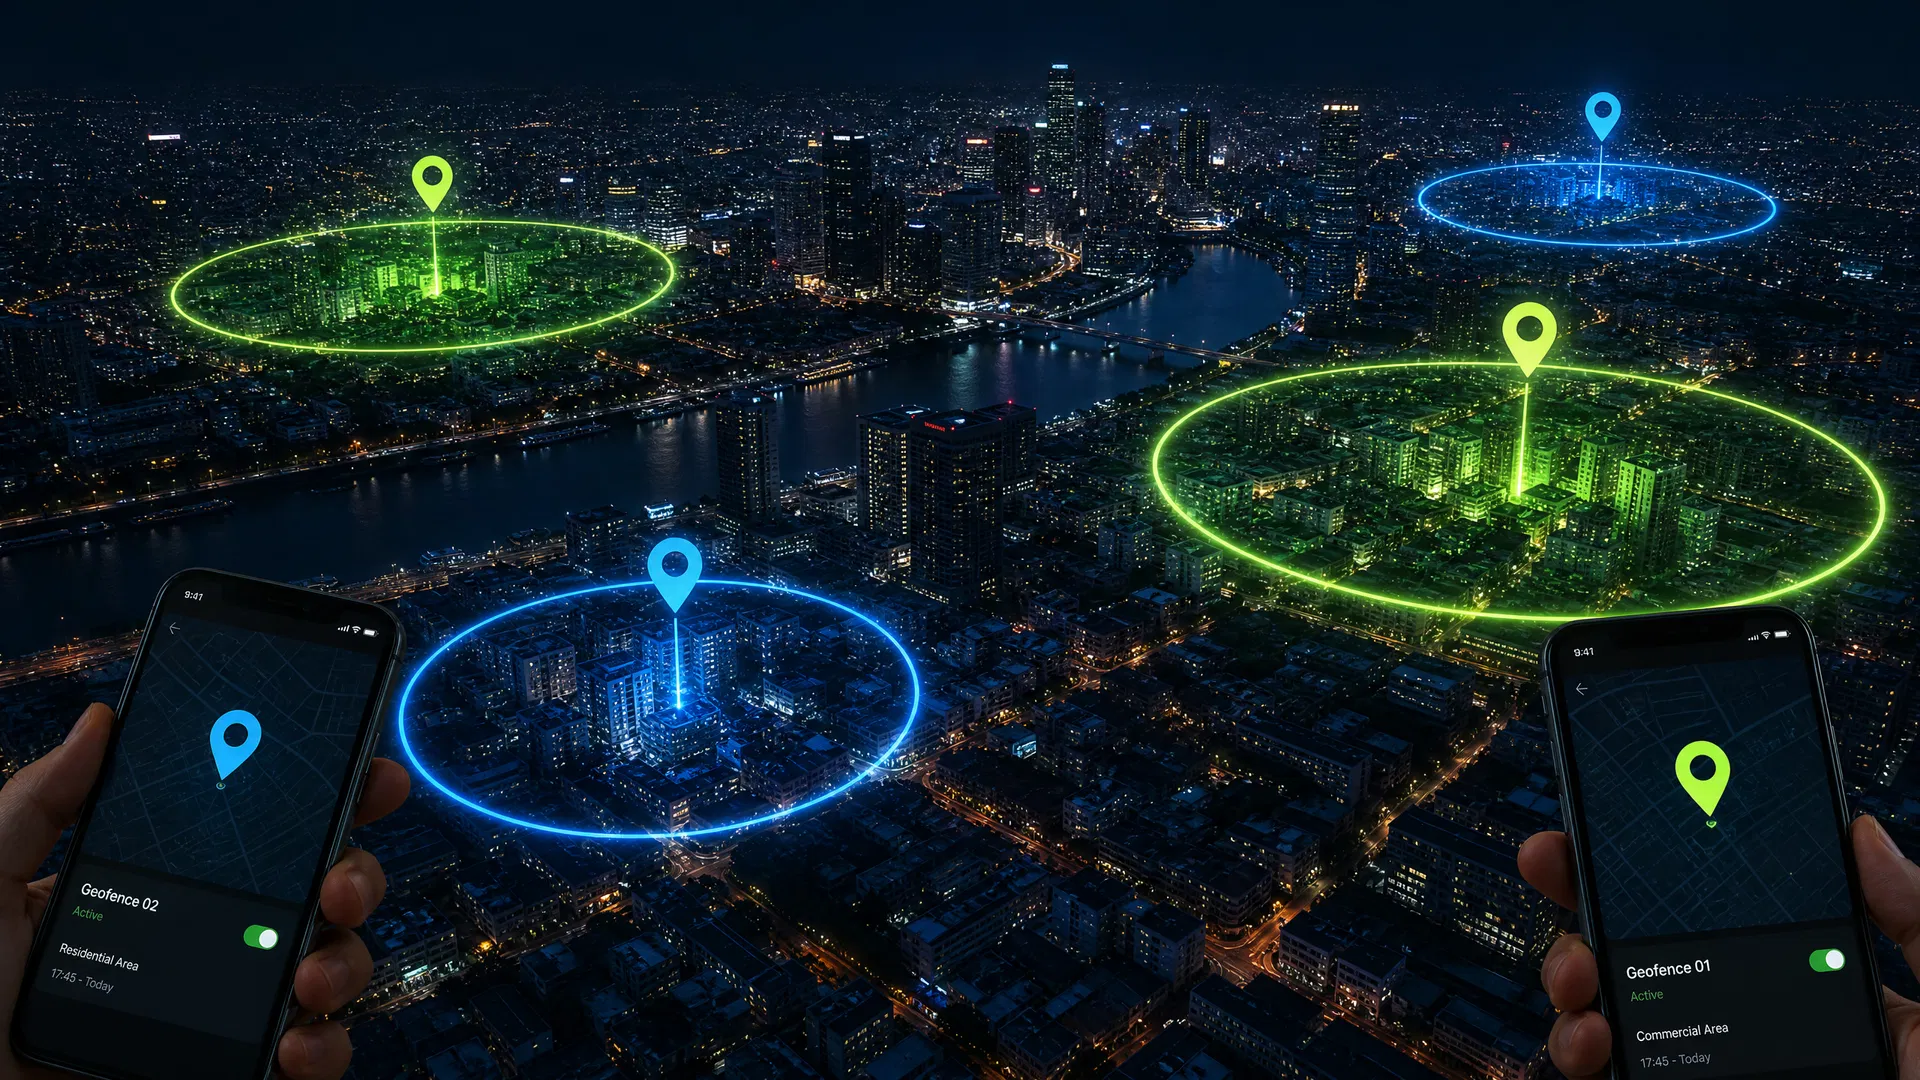

Location data is a shiny object, but marketers often get perplexed with how to start using it — or they dive in without a plan and get underwhelming results. Here's a simple, three-step framework to launch a geofencing campaign that actually performs.
Step 1: Define Your Target Locations
Start by identifying the physical places where your best customers or prospects spend time. This could be your own locations, competitor locations, complementary businesses, or event venues. The more specific and intentional you are about location selection, the more relevant your ads will be.
Think beyond just "around our store." Consider:
- Competitor locations where you want to conquest customers
- Feeder locations where your target audience goes before they visit you
- Events, trade shows, or conferences where your prospects gather
- Residential neighborhoods where your best customers live
Step 2: Build Your Audience
Once your geofences are drawn, the platform begins capturing mobile IDs of devices that enter those boundaries. This builds a custom audience of real people who have demonstrated location-based intent — not a modeled or inferred audience, but actual individuals who were physically present at your target locations.
You can also layer in additional data signals — behavioral data, demographic data, or purchase history — to further refine who sees your ads.
Step 3: Activate and Measure
With your audience built, you're ready to serve ads across mobile apps, mobile web, desktop, and connected TV. The key is to match your creative to the intent signal. Someone who just visited a competitor's dealership should see a different message than someone who visited your service center three months ago.
Close the loop with foot traffic attribution — a report that shows how many people who saw your ads subsequently visited your location. This is the most direct measure of geofencing ROI available, and it's what separates a well-run geofencing campaign from a media buy you can't justify.